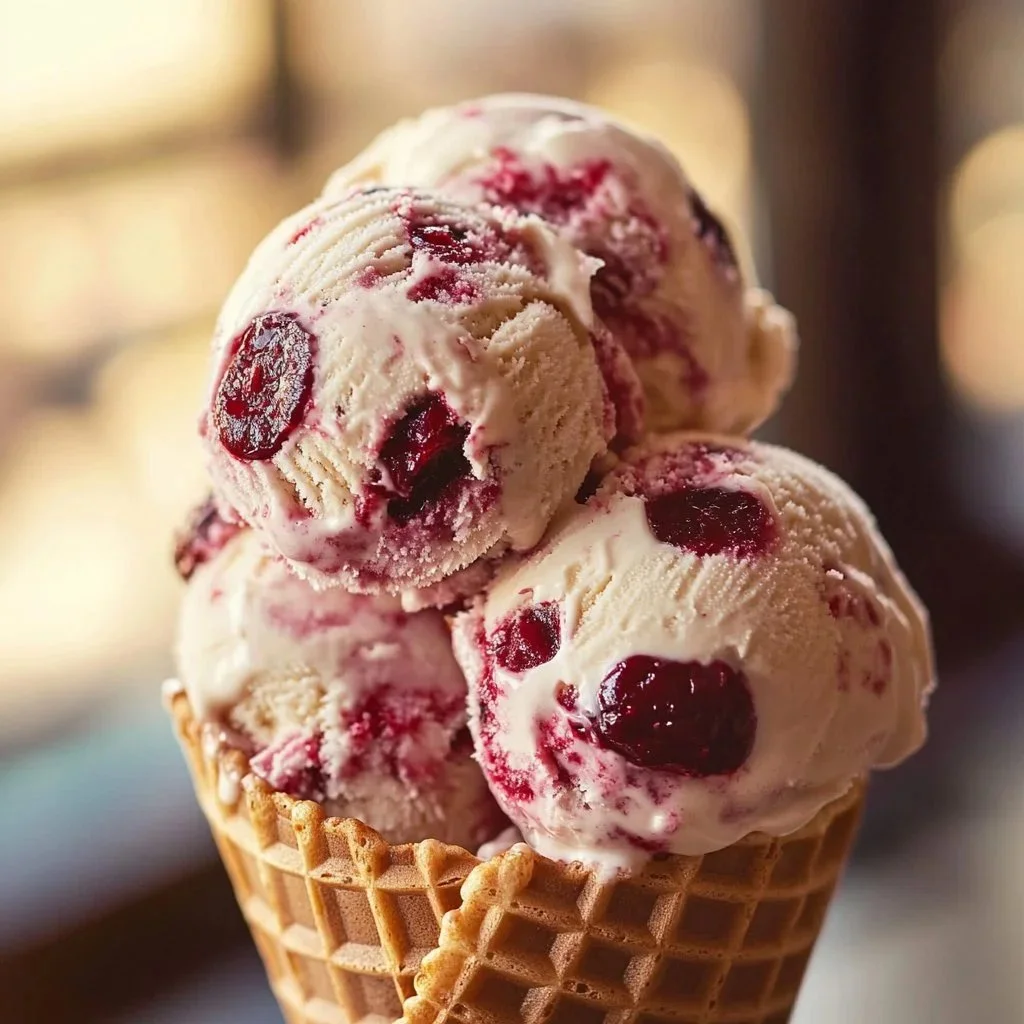
Cherry Garcia Ice Cream, a delightful and indulgent treat, captures the essence of summer in every creamy bite. This homemade ice cream boasts luscious swirls of cherry preserves, complemented by rich chocolate chips that provide a delicious crunch. Making this ice cream is not only easy, but it takes you on a nostalgic journey filled with memories of warm days and laughter shared with loved ones. Follow this simple step-by-step recipe to create a dessert that is not only family-friendly but also a surefire way to impress guests at any gathering.
Ingredients
To embark on this creamy adventure, gather the following ingredients that will deliver not only flavor but also satisfaction:
- 2 cups heavy cream: The base of your ice cream adds a rich, velvety texture, ensuring each scoop is a delightful experience.
- 1 cup whole milk: This enhances the creaminess while balancing the flavors for a smooth finish.
- 3/4 cup granulated sugar: The sugar will sweeten the mixture, creating a perfect harmony with the cherries and chocolate.
- 1 teaspoon vanilla extract: A dash of this aromatic extract elevates the flavor profile, bringing warmth and depth.
- 1/2 cup cherry preserves or chopped fresh cherries: These juicy and vibrant cherries are what bring the ice cream to life, infusing it with delightful fruitiness.
- 1/2 cup chocolate chips: Crispy and rich, these morsels add texture and a touch of decadence.
Step-by-Step Directions

- In a large mixing bowl, combine the heavy cream, whole milk, granulated sugar, and vanilla extract. Mix until the sugar is dissolved and smooth.
- Fold in the cherry preserves or chopped cherries, ensuring they are evenly distributed throughout the mixture.
- Add in chocolate chips, mixing gently to avoid breaking the chips or mashing the cherries.
- Cover the bowl and refrigerate for 1-2 hours, allowing the flavors to meld and the mixture to chill.
- Churn the mixture in an ice cream maker according to the manufacturer’s instructions (about 20-25 minutes), until it reaches a soft serve consistency.
- Transfer the ice cream to an airtight container and freeze for at least 4 hours before serving to achieve a firm texture.
- Scoop and serve your homemade Cherry Garcia Ice Cream, optionally garnishing with additional chocolate chips or cherries for an enticing presentation.
Tips & Tricks
To enhance your Cherry Garcia Ice Cream, consider these helpful tips:
- If using fresh cherries, ensure they are pitted to avoid any surprises while enjoying the creamy delight.
- You can swap in dark chocolate or white chocolate chips for a different flavor experience.
- For a more intense cherry flavor, add a splash of cherry juice or a hint of almond extract.
- If you prefer a smoother texture, blend the cherries into the cream mixture instead of folding them in whole.
Serving Suggestions & Pairings
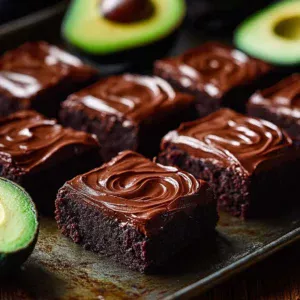
Cherry Garcia Ice Cream pairs beautifully with warm desserts like brownies or pie, creating a blissful contrast of hot and cold. Serve it at birthday parties, summer barbecues, or family get-togethers where everyone can revel in its delightful flavors. For an extra special treat, consider creating an ice cream sundae with whipped cream, nuts, and a cherry on top, making it an inviting centerpiece on your dessert table.
Nutritional Information
Enjoy your Cherry Garcia Ice Cream in moderation. Each serving roughly contains:
- Calories: 250
- Total Fat: 16g
- Saturated Fat: 10g
- Cholesterol: 80mg
- Carbohydrates: 27g
- Sugars: 24g
- Protein: 3g
It’s essential to balance this decadent dessert with wholesome meals throughout the day.
Storing Tips & Variations
To keep your Cherry Garcia Ice Cream fresh, store it in an airtight container in the freezer. Properly stored, it can last for about two weeks, maintaining its creamy texture and flavor. For variations, try adding nuts like almonds or walnuts for a crunchy element or include other fruit preserves, such as raspberry or strawberry, for a fruity fusion.
Conclusion
Indulging in homemade Cherry Garcia Ice Cream is an experience filled with joy and nostalgia, as every scoop brings warmth and sweetness. This easy-to-follow recipe promises not only delicious results but also the joy of making something special for family and friends. Don’t hesitate to try this irresistible ice cream recipe in your kitchen, and share your experiences with others!
FAQs
Can I use low-fat milk instead of whole milk?
While you can use low-fat milk, using whole milk enhances the creaminess of the ice cream. For the best texture and flavor, stick to whole milk.What if I don’t have an ice cream maker?
You can freeze the mixture in a shallow pan, stirring every 30 minutes for the first couple of hours to break up ice crystals for a creamier texture.Can I substitute different fruits?
Absolutely! Feel free to experiment with other berries or even tropical fruits like mango. Adjust the sweetness accordingly.How can I make this recipe dairy-free?
Substitute the heavy cream with coconut cream and the whole milk with almond milk for a delicious dairy-free version.Can I omit the chocolate chips?
Of course! If you prefer, you can eliminate the chocolate chips or replace them with chopped nuts or other candies for a different texture.
Making your own Cherry Garcia Ice Cream is a treat that will leave you longing for more, a sweet reminder of the simple pleasures in life. Savor this delightful recipe today!

Cherry Garcia Ice Cream
Ingredients
Base ingredients
- 2 cups heavy cream The base of your ice cream adds a rich, velvety texture.
- 1 cup whole milk Enhances the creaminess while balancing flavors.
- 3/4 cup granulated sugar Sweetens the mixture, creating harmony with cherries.
- 1 teaspoon vanilla extract Elevates the flavor profile with warmth and depth.
Flavor ingredients
- 1/2 cup cherry preserves or chopped fresh cherries Infuses the ice cream with delightful fruitiness.
- 1/2 cup chocolate chips Adds texture and a touch of decadence.
Instructions
Preparation
- In a large mixing bowl, combine the heavy cream, whole milk, granulated sugar, and vanilla extract. Mix until the sugar is dissolved and smooth.
- Fold in the cherry preserves or chopped cherries, ensuring they are evenly distributed throughout the mixture.
- Add in chocolate chips, mixing gently to avoid breaking the chips or mashing the cherries.
- Cover the bowl and refrigerate for 1-2 hours to allow flavors to meld and mixture to chill.
- Churn the mixture in an ice cream maker according to the manufacturer’s instructions (about 20-25 minutes), until it reaches a soft serve consistency.
- Transfer the ice cream to an airtight container and freeze for at least 4 hours before serving.
- Scoop and serve your homemade Cherry Garcia Ice Cream, optionally garnishing with additional chocolate chips or cherries.